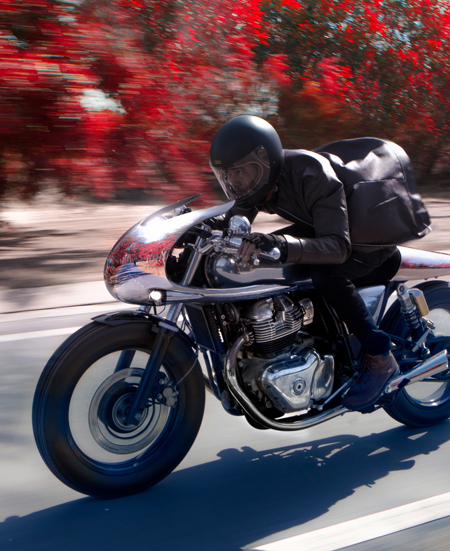
Ironically, this journey began with a puncture. A nail to the rear tire a few weeks into owning my Honda CB400 led me on this path. The intention was never to build a custom bike. Back then I was still expecting to find carburetors on a fuel-injected Honda. I didn’t have a clue.
While waiting for a replacement tire, I approached a local shop with a Competition Werkes muffler I’d seeing used on another CB400. When poked fun at for buying a non-fitting part on “evilbay” it became clear that I would need to look elsewhere, and consequently, do it myself.
At the time I was creating digital content for work and was longing for a hands-on outlet to break up the day. A motorcycle teardown in a small city apartment carport performed with zero experience and only ignorance for comfort was to be the answer. In hindsight, if I’d known at the time how much work, time and space was needed I probably would have stuck on bar end mirrors and called it a day.
Before long our balcony turned into a workshop. I was stripping paint on the balcony, degreasing in the kitchen sink, and curing paint in the oven. Getting busted with saws under the bed made it clear that a move to a dedicated workshop was overdue. Coincidentally a crowd-funded communal workshop opened on the other side of town and there we settled for the rest of the build. Surrounded by other builders and owners who were always happy to help, it became a home away from home. Finding time didn’t always come easy and with only two hours on weeknights and other commitments on weekends, progress was slow. During the early days, I learnt to use a grinder and took a welding & electrical class, but soon realised how time-consuming cutting, bending, sanding by hand was and how much the imperfections bothered me. I now had space but not enough time or patience. Then, I had a light bulb moment; replicate the Honda digitally and work on it from home!
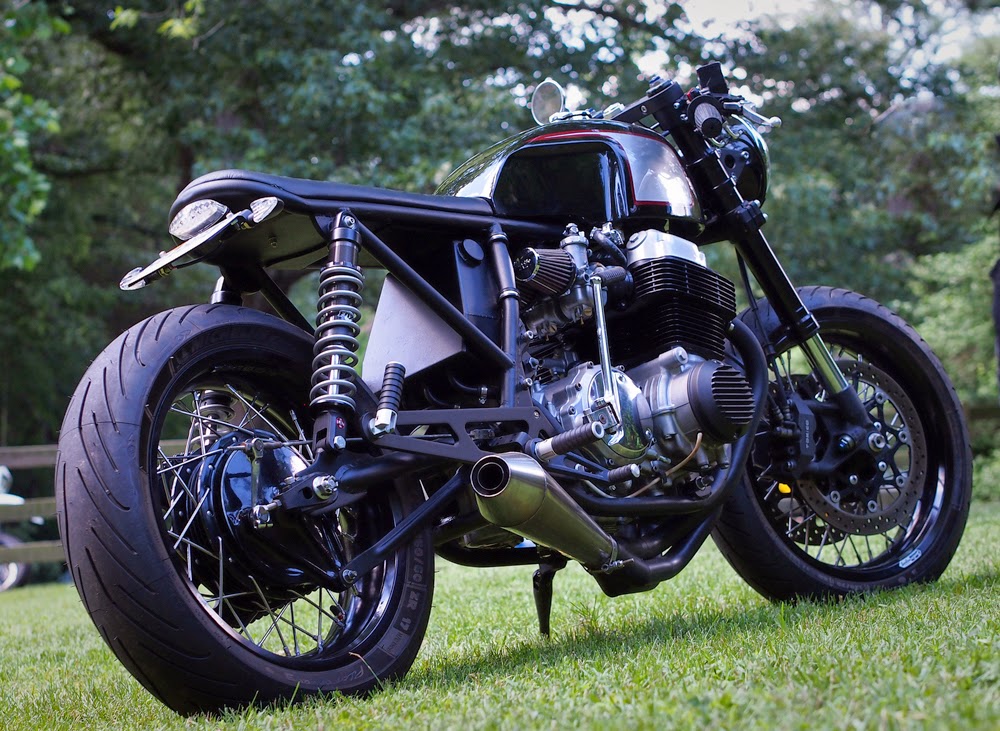
Having had experience in the field, I had the bike 3D scanned with a blue light scanner. This enabled the design work to take place remotely and with greater accuracy. The rear loop on the bike was initially bent by hand, but with the shape of the frame, the rear needed precise bends in all axis. Using the scan data, the bike could be visualised and exact bends specified. Once designed, parts would arrive cut, bent and surface treated. The seat pan and electronics housed under the seat were done this way. A few components required multiple iterations, whilst others fit first go. The balance of software and cardboard mock-ups perpetuated further custom parts and from there the project snowballed.
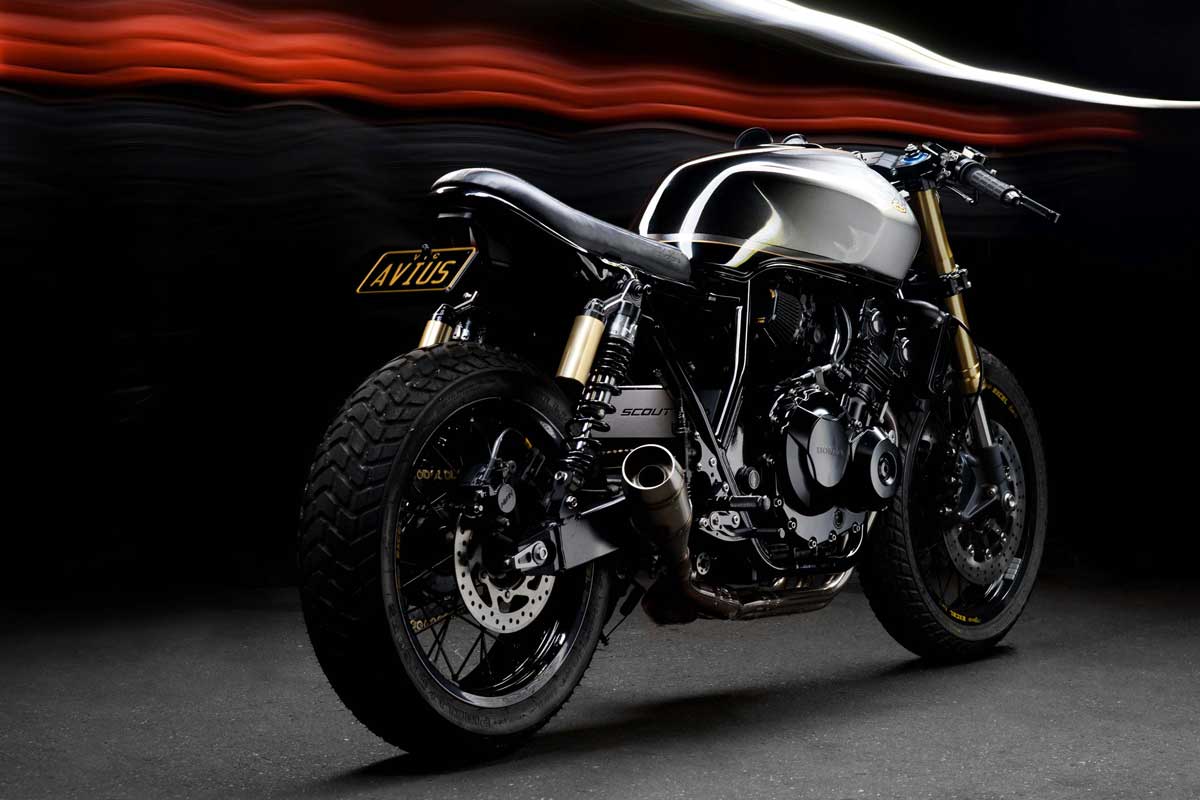
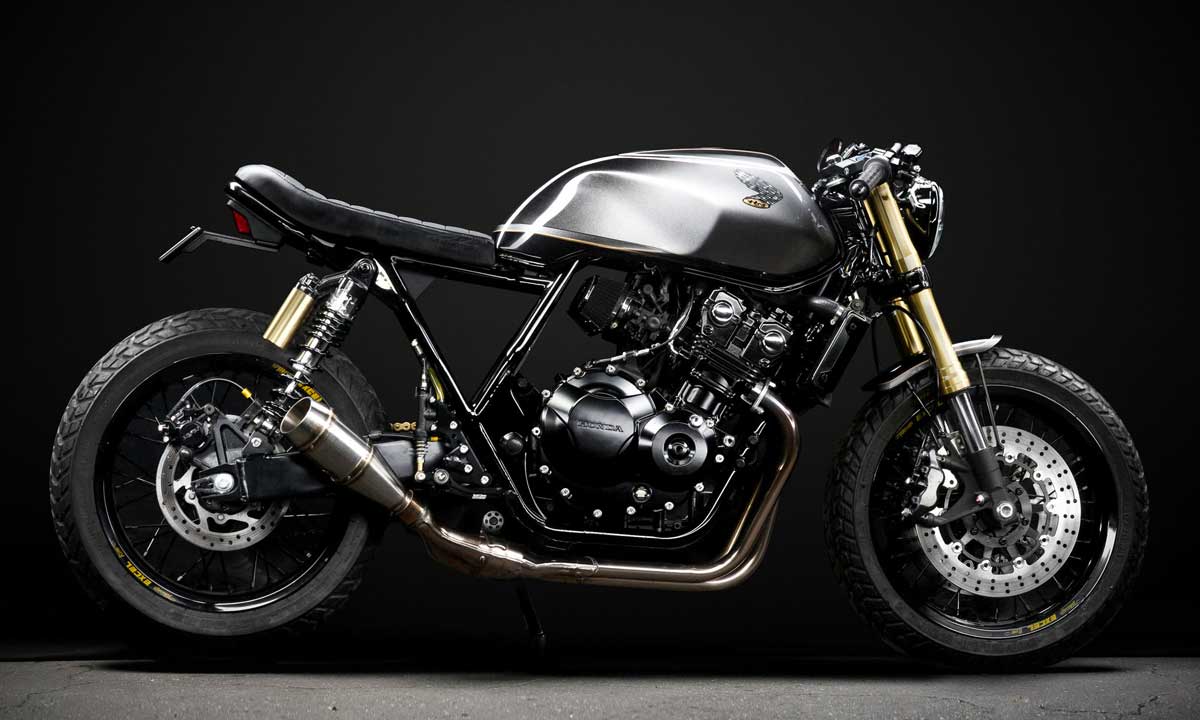
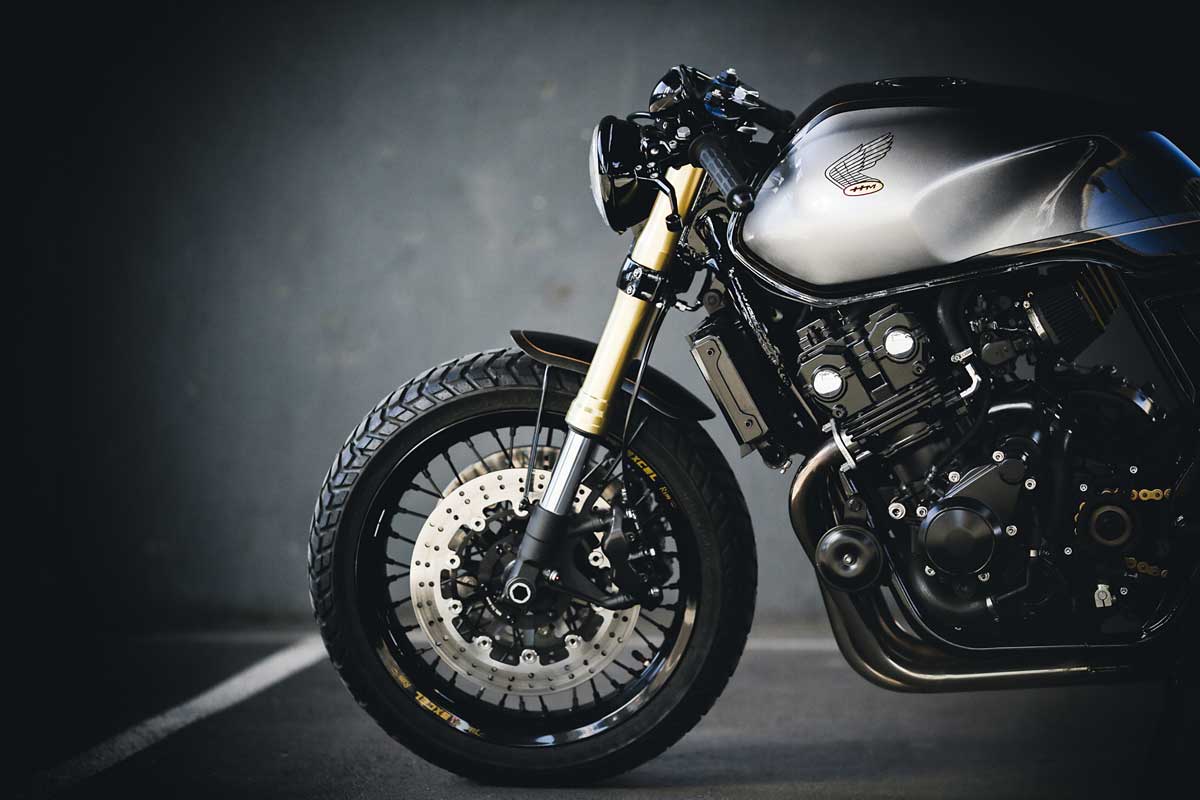
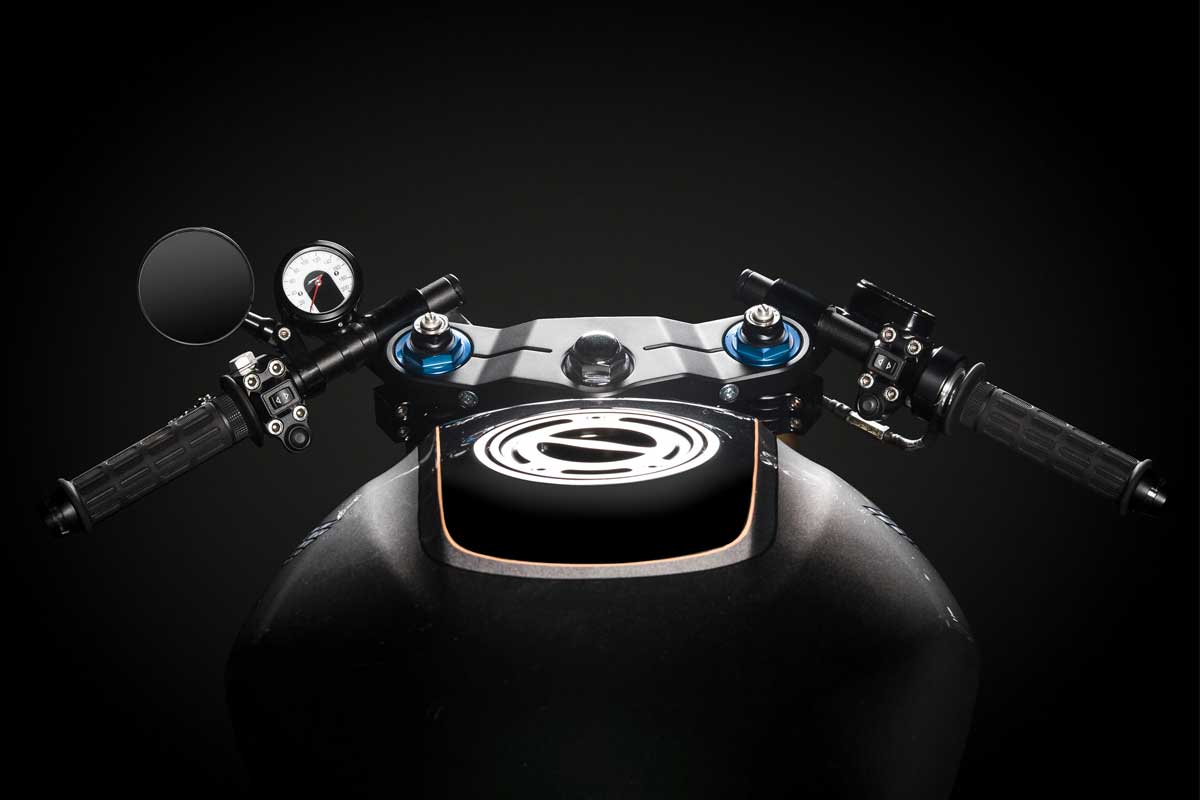
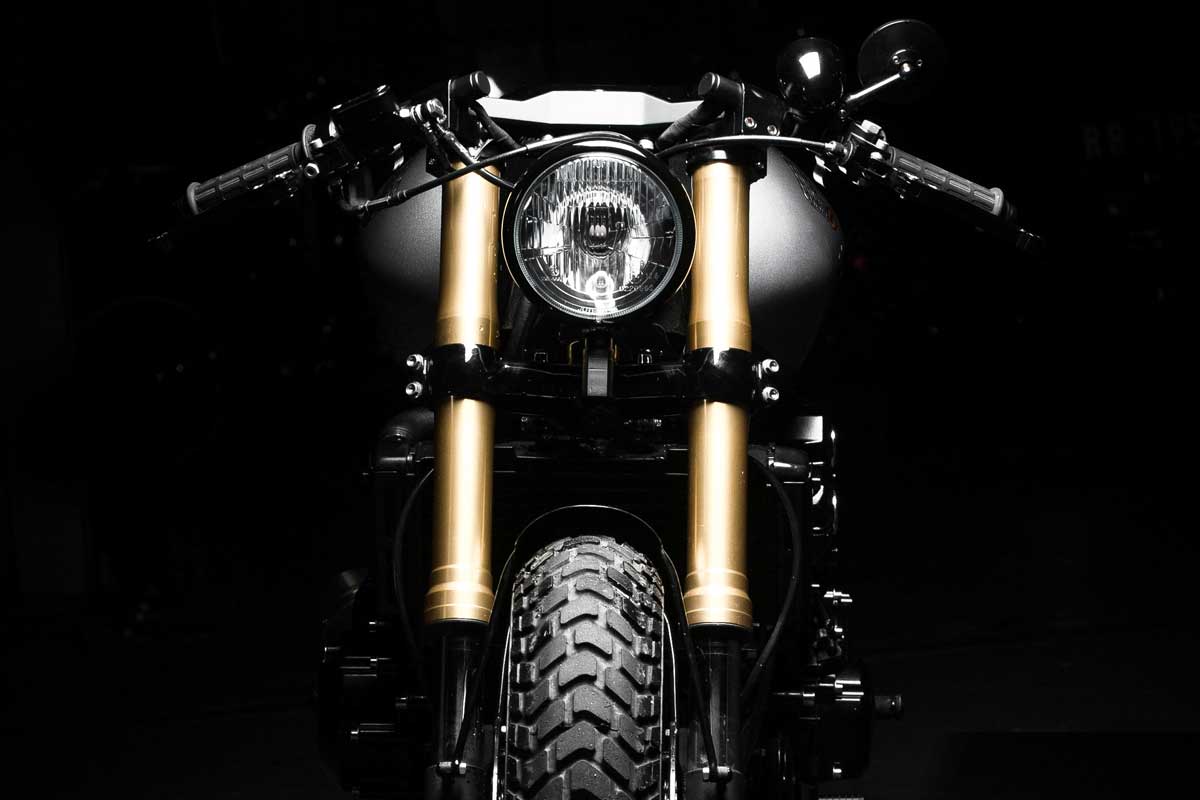
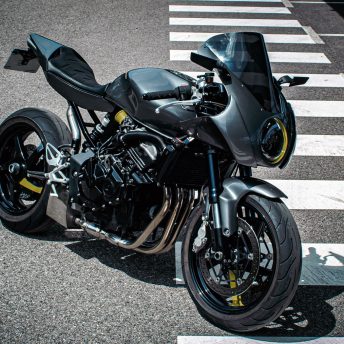
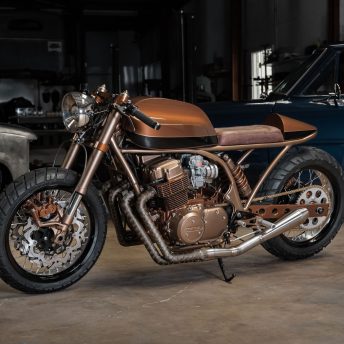
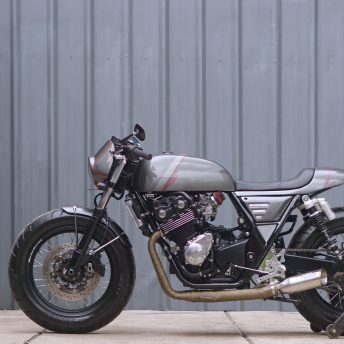
Rear suspension risers, sprocket cover, top triple clamp to name a few, were designed in the bedroom before being machined in aluminium and anodised black. Working with CAD meant that the seat pan could self-centre on the frame and be locked with hidden fixings. Similarly, the taillight and license plate assembly were custom made. Having purchased four sets of taillights online and none fitting, a decision was made to salvage a lensand build an enclosure around it. Wheel hubs were measured to fit the CBR600RR front end and machined to allow fitment of the laced Excel rims…and the tires finally arrived!
By this point, I had learnt to weld well enough to tidy up the frame and pull the engine out ready for a coat of paint. Fast-forward a few weeks and the engine and frame were back together. Weeks of electrical crimping, cutting and soldering followed with a sea of wires and dozens of sensors needing a new home. One blown ECU later, the wiring was done.
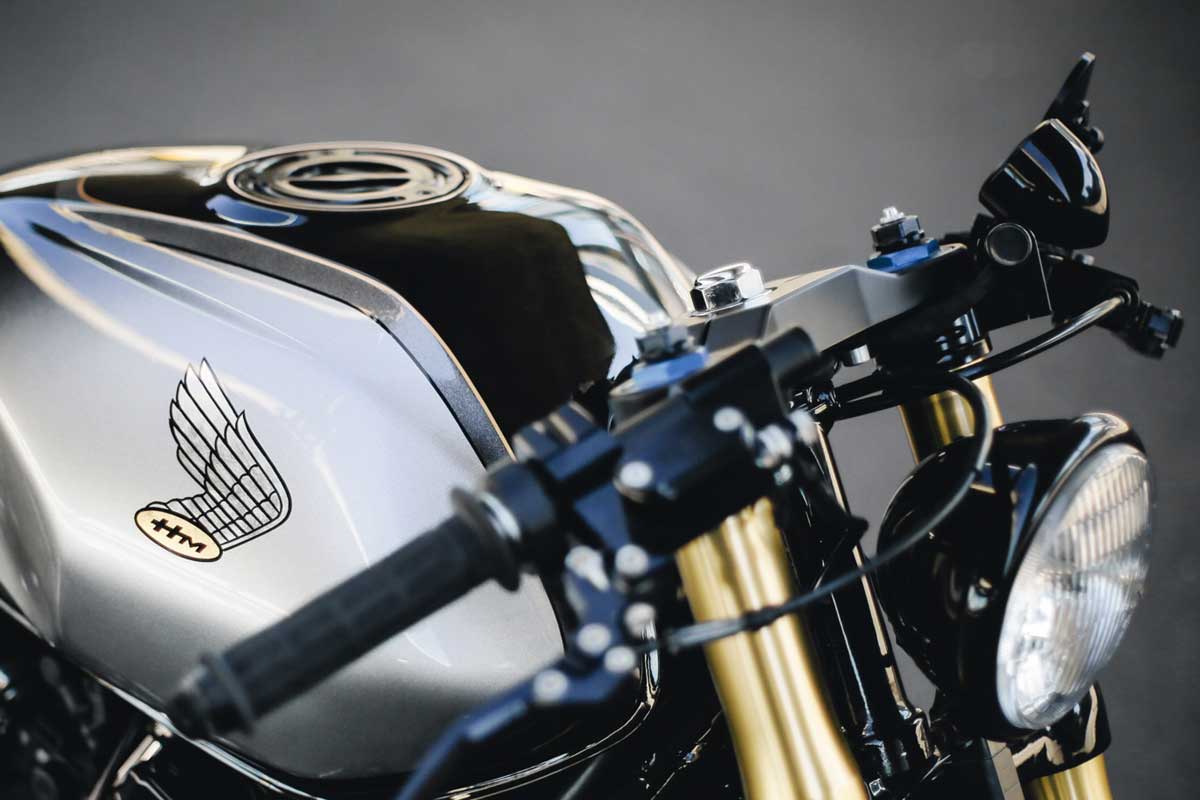
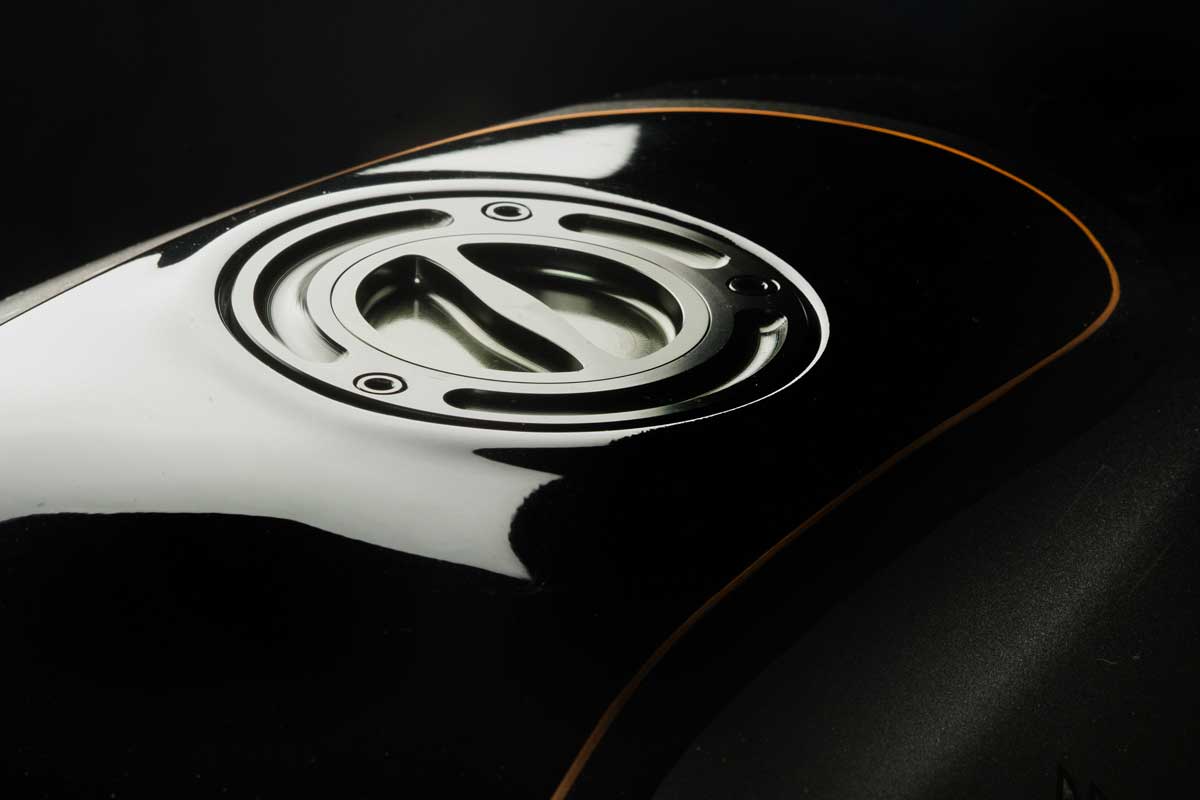
The seat, tank and fender were last on the never-ending list of tasks to complete. Initially, hoping to do something different, a textured, self-skinning polyurethane foam seat was drawn up. A prohibitively expensive tool to mould the part was necessary so a conventional method took precedence. A debossed leather & textured vinyl, upholstered to a laser cut & bent steel seat pan with machined locking features was the result. The tank and fender were painted and hand pinstriped with gold and silver leaf and fender mounts bent and coated to support it. Where possible, there was an emphasis on minimising visual clutter; hidden indicators, black pod filters, an unobtrusive headlight mount, integrated switchgear, keyless ignition and hidden wiring were carefully considered.
I occasionally get asked, “Why spend so much time building a 400cc Honda and not something bigger?” The simple answer is that it’s all I had and didn’t know any better. Rather than rushing to a preconceived destination, it’s been a case of enjoying the journey and all that came with it. Looking back at the three or so years that it took to complete, I reflect on at the skills passed on from the many talented people that have come and gone along the way, the good times and friendships made. The bike community is a tight and embracing one, and people from all walks of life come together to support one another regardless of their background or skill.
…To think I might have missed it all if it weren’t for tahat little nail.
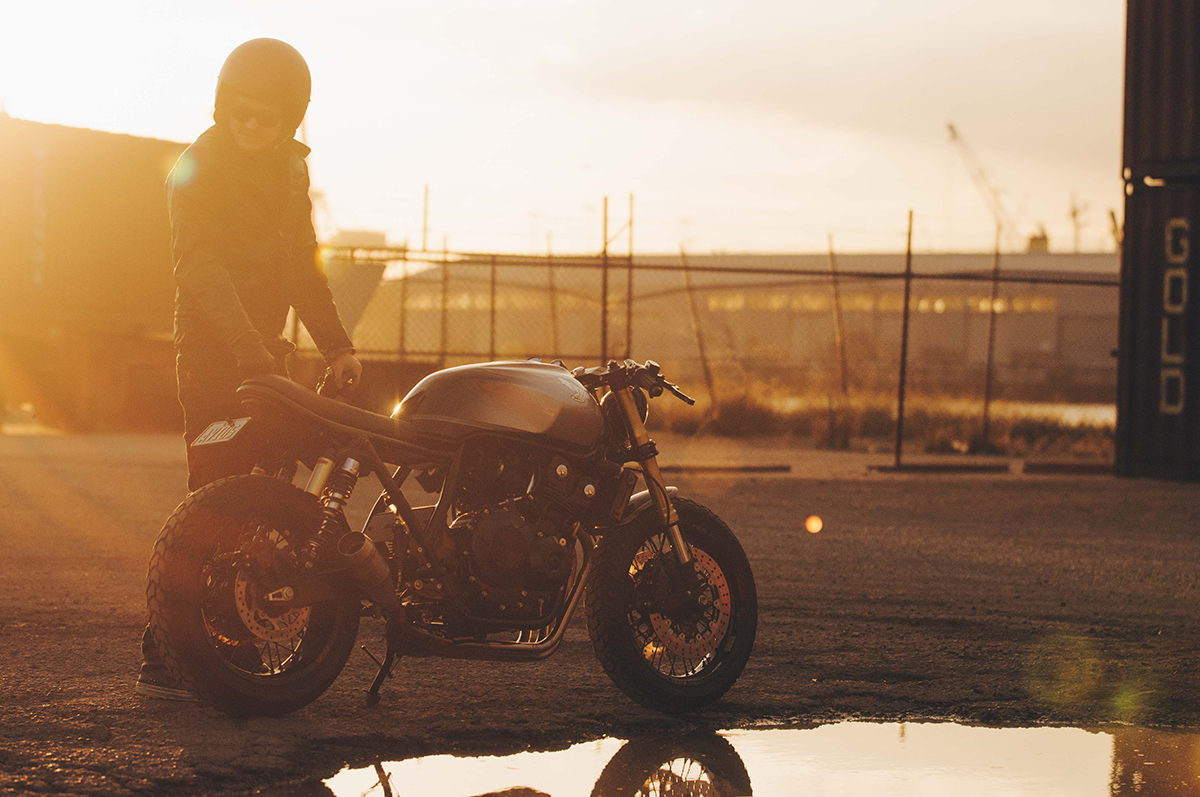

Other work completed:
- Scout cover plate
- Rear wheel – Modified KTM hub, sprocket and disk
- tiny speedo
- ISR Master cylinder with integrated switchgear
- Baby Face Rearsets
- Machined pod filter adapter rings
- Keyless ignition
- Venhil custom brake hose
- Kellermann bar end indicators
- Watsen design rear indicators
- Custom clutch cable
- Biltwell throttle
- Power commander
- Stainless steel bolt kit for engine
Story and build by Jake Rypien / Images by Freestyle Photography
