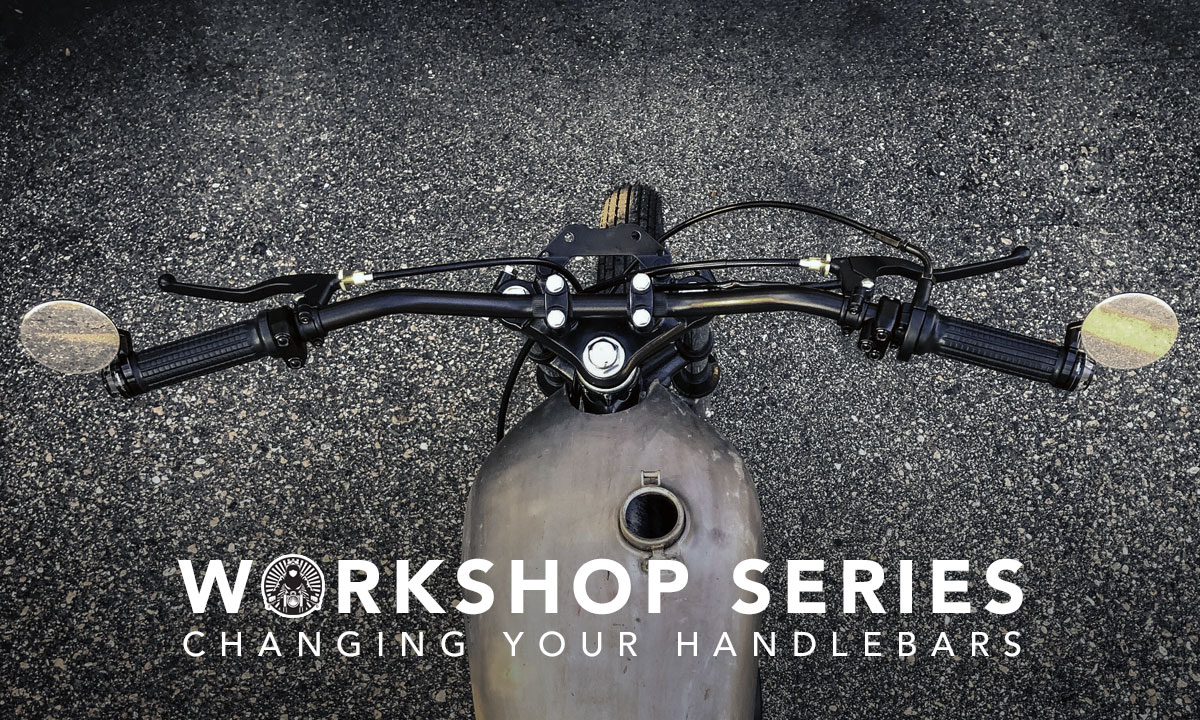
Replacing handlebars on a motorcycle can dramatically change its look and feel. For better or worse, the handlebar affects a motorcycle aesthetics in a large way – they can stick out like sore thumbs or be the finishing touch on a purposefully designed front end. They’re also intrinsically functional, directly affecting handling characteristics and riding position. From apes to upside-down clubmans, the right handlebar can make all the difference to how your custom project turns out.
So how hard is it to replace the handlebar of your motorcycle? It sounds simple enough, but it gets tricky when significantly altering your motorcycle’s geometry. A substantial modification to height or width will cause a ripple of change that could inhibit the functionality of nearby components. For example, trading scrambler bars for clip-ons may require rerouting or replacing cables, drilling for internal wiring, and other small fabrication tasks.
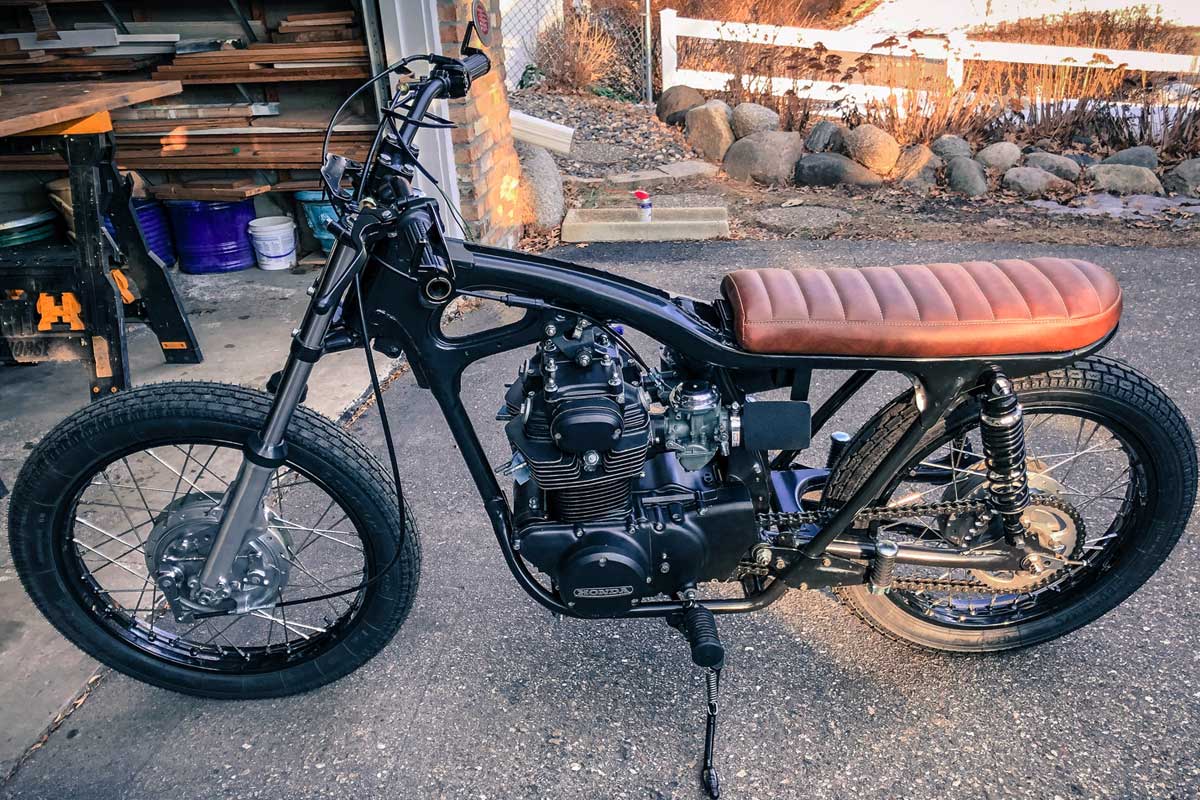
During my own custom motorcycle project, I decided to go all-in and overhaul the cockpit of my Honda CL350. Most of the parts I used can be purchased easily online, I found most of mine at the-cafe-racer.com. Here’s how I went about replacing the handlebars, from choosing the right handlebar to installing everything on my bike.
Choosing motorcycle handlebars
There are a few dimensions that all retailers and manufacturers use to define the shape of any handlebar. Some are obvious, others less so. Understanding the terminology allowed me to measure prospective bars against my stock bar and visualize how each would look on my motorcycle.
Starting with the basics, there’s height, width, and rise. The first 2 are obvious, but rise refers to a vertical measurement from the bar’s lowest point to the point where pullback begins. Pullback, then, is a forward-to-back measurement that dictates how dramatically the handlebar angles back toward the rider. More pullback generally allows for a more natural wrist position. Finally, there’s diameter, which is dreadfully easy to measure, yet crucial for choosing a handlebar and dressings that are compatible with your ride. Most bikes take 7/8” or 1” bars.
Let’s talk about clip-ons
Clip-ons are undoubtedly the most popular style for café-racer applications. These individual steel tubes mount to each fork leg below the top bridge, offering an aggressive riding position and a clean aesthetic that’s hard to pass up. However, it also means they come with a unique set of requirements that may make some riders steer clear.
You’ll have to drop your forks out of the top bridge for proper installation. But before you get to that, you’ll want to check for interference with your fuel tank due to the drastically lower position of the bar ends. If there are clearance issues, expect to modify your steering stop. You’ll also want to pair them with rear-set footpegs to achieve a comfortable riding position.
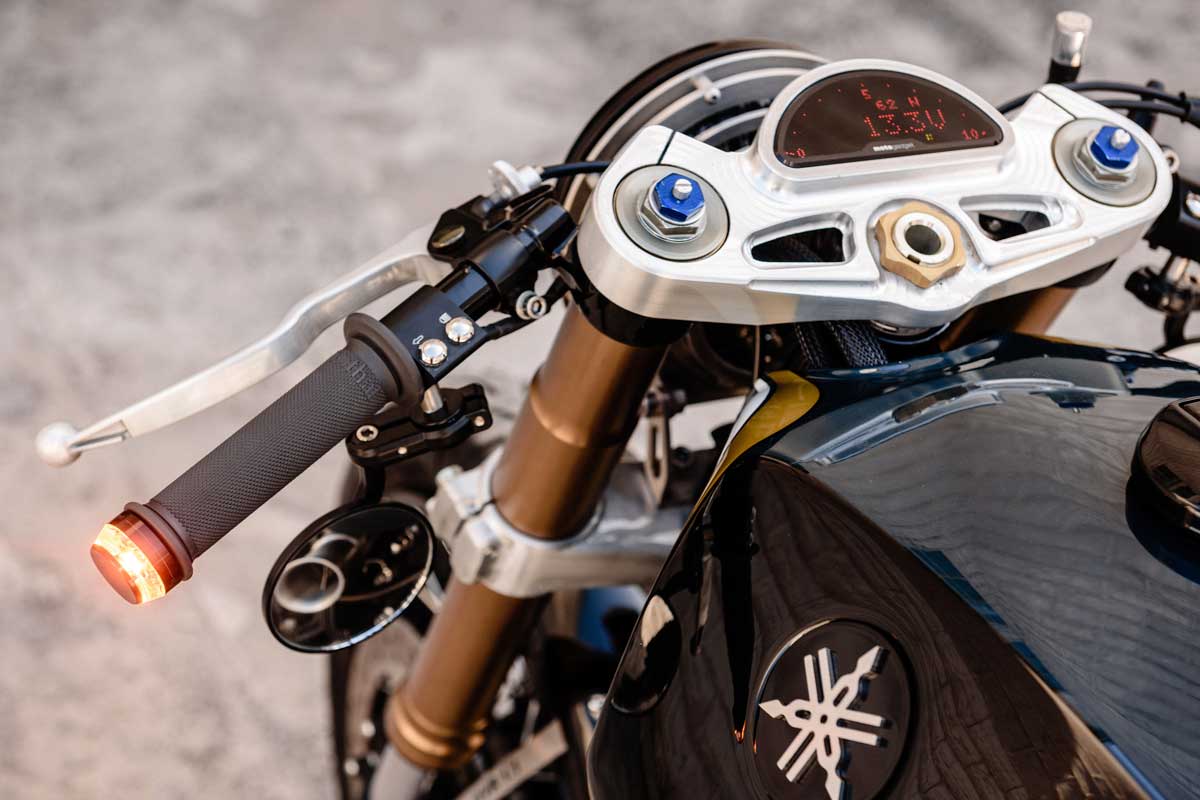
In the end, I chose an EMGO 7/8” street bar that married practical rideability with a low (enough), minimal look. The rise is 2¾ inches lower and the width is 2½” longer than the Honda twin’s stockers. This bar will clean up the front end, improve handling, and provide comfort with my OEM foot controls.
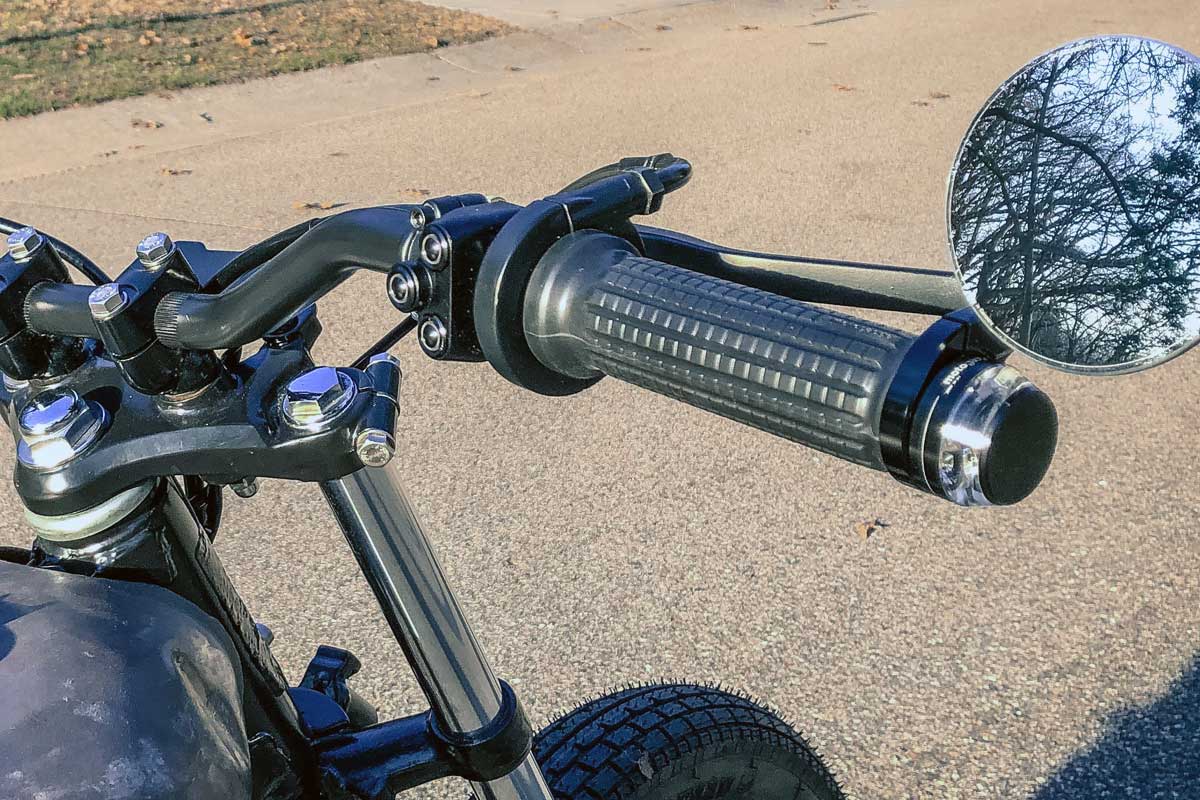
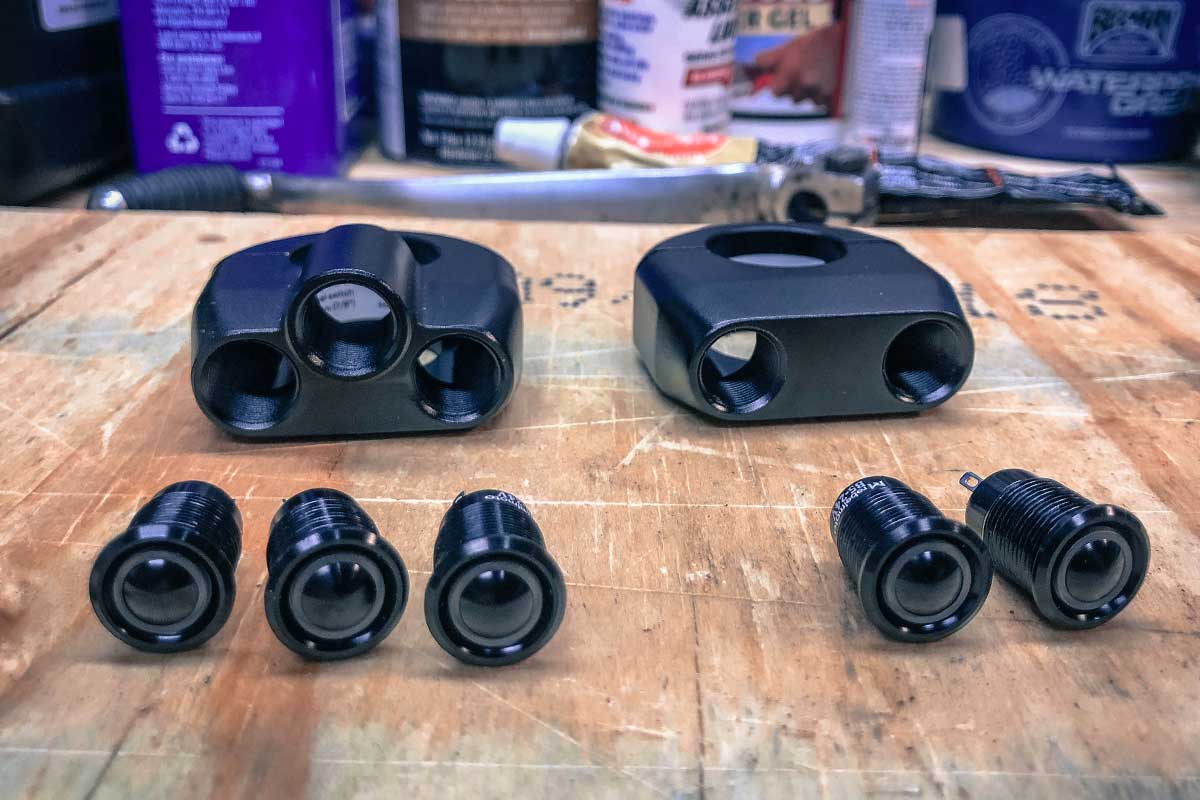
For components, I zeroed in on the svelte German engineering of Motogadget because their quality and aesthetic are second to none. I went with Mo.Blaze bar end indicators, Mo.Spy bar end mirrors and Mo.Grip soft rubber grips. I also purchased RebelMoto switch pod controls, plus a modern throttle tube, levers, perches, and cables to send my 350’s cockpit into the 21st century while retaining some retro flair.
Now we’re ready to begin the process of replacing handlebars. Let’s get to it.
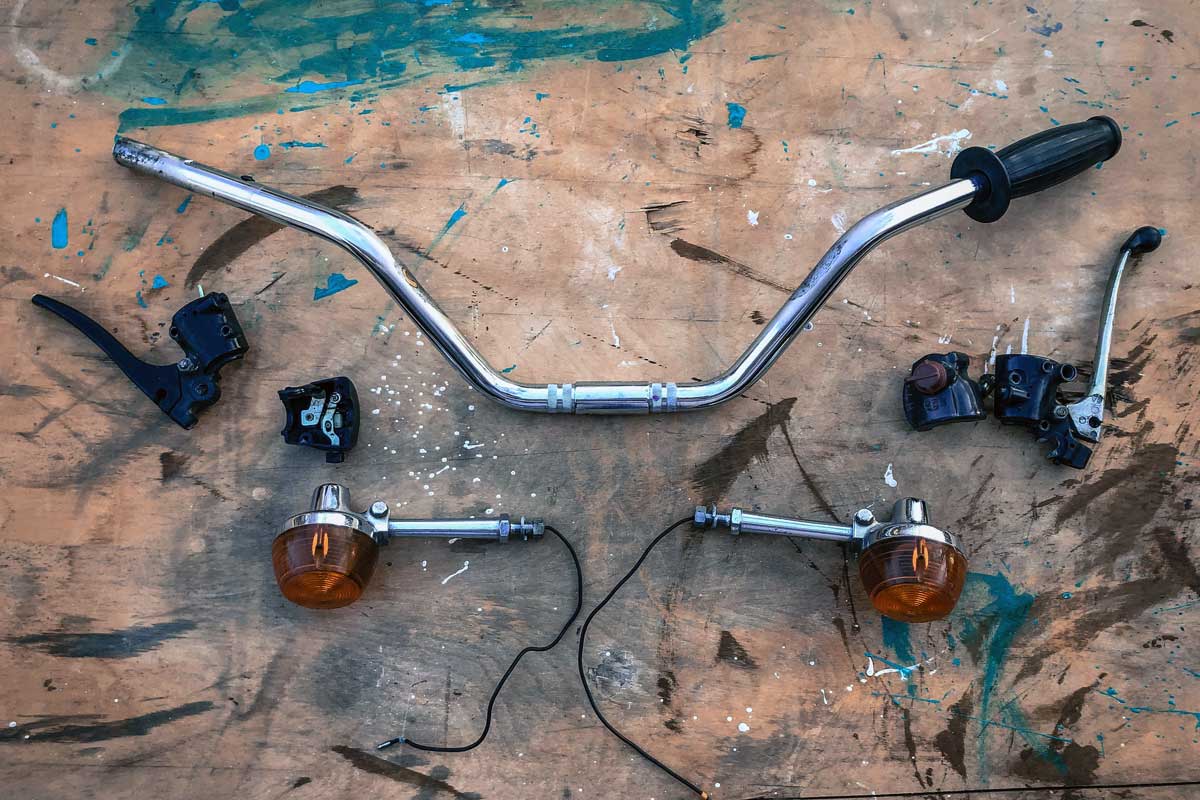
Removing the OEM bar
First, I removed the switch pods, lever perches, and mirrors, which was a quick screwdriver and spanner affair. Then I backed off the four handlebar clamp bolts and tossed the bar aside. With fresh Motogadget grips on standby, I didn’t bother saving my stock grips—but don’t worry if you’re reusing yours.
Shoot compressed air between the bar and rubber to loosen things up. If that doesn’t give up the ghost, there is likely factory glue at play. Insert a small flathead screwdriver into the gap and carefully work your way around the bar to break it up. Then apply some lubricant like WD-40 and it’ll slip right off.
Initial handlebar mock-up
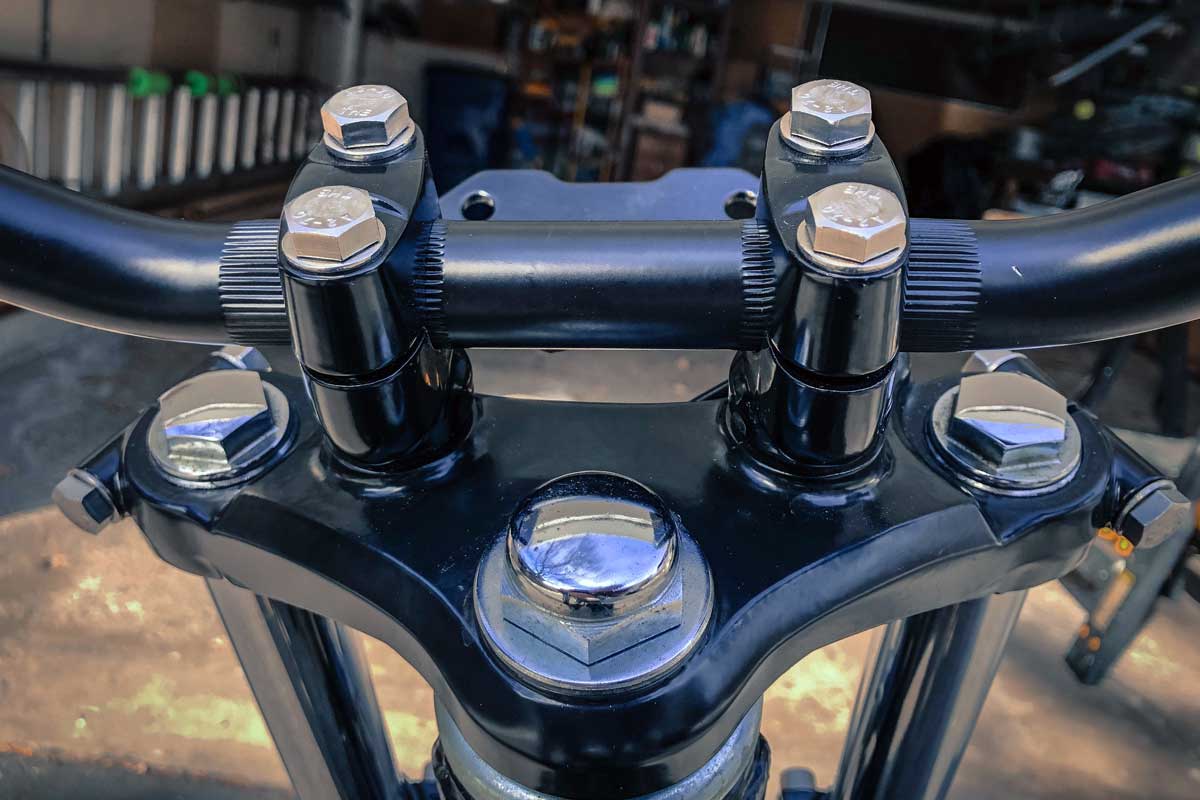
To understand how my collage of aftermarket parts would fit together in the real world, I temporarily installed the new parts on the bike. This also helped me dial in my riding position and pinpoint where to drill for wiring passthrough. I matched up the bar’s knurled areas with my top bridge clamps and installed the caps with minimal torque. Note that some bikes have a right and wrong orientation for the caps. In the 350 twin’s case, the taller side faces front.
Next, I prepared my components for installation. First, I cut off the capped end of the aftermarket throttle tube, which was incompatible with mounting and wiring Motogadget’s bar-end indicators. I braced the plastic with a 3/4” piece of scrap wood and nicked off the tip on a compound mitre saw. I also chamfered the edge with 400 grit sandpaper to minimize friction with the grip and bar. Then I unscrewed the buttons from the switch housings for easier access to mark the bar for drilling.
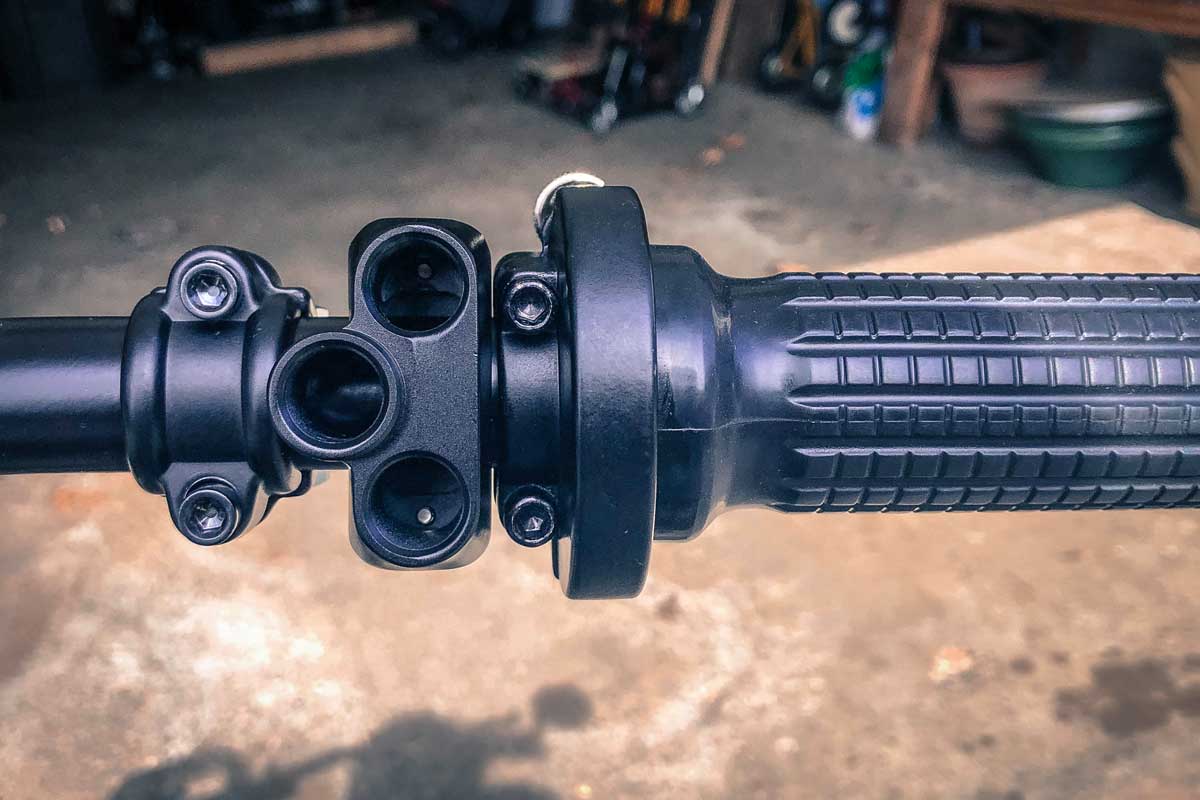
The Motogadget grips included one 7/8” grip and one 1” grip, which seemed like a mistake at first. But it wasn’t a picking error—the larger grip accommodates the extra diameter caused by the throttle tube. Starting on the left, the 7/8” grip went on easily with a squirt of WD-40 and a dash of sweet talk.
Before the lubricant evaporated, I bolted down the lever perch, switch housing, and bar end mirror, then tweaked the fit until the mirror was flush with the end of the bar. The right side was a lot like Deja vu, albeit with the addition of bolting down the throttle tube.
With everything temporarily installed and looking sweet, I sat on the bike, rotated the bar, and adjusted the componentry until I was satisfied with the final riding position. I torqued down the switch housings to preserve their orientation, removed the rest, and brought the bare bar back to the bench for drilling.
Drilling the bar for internal wiring
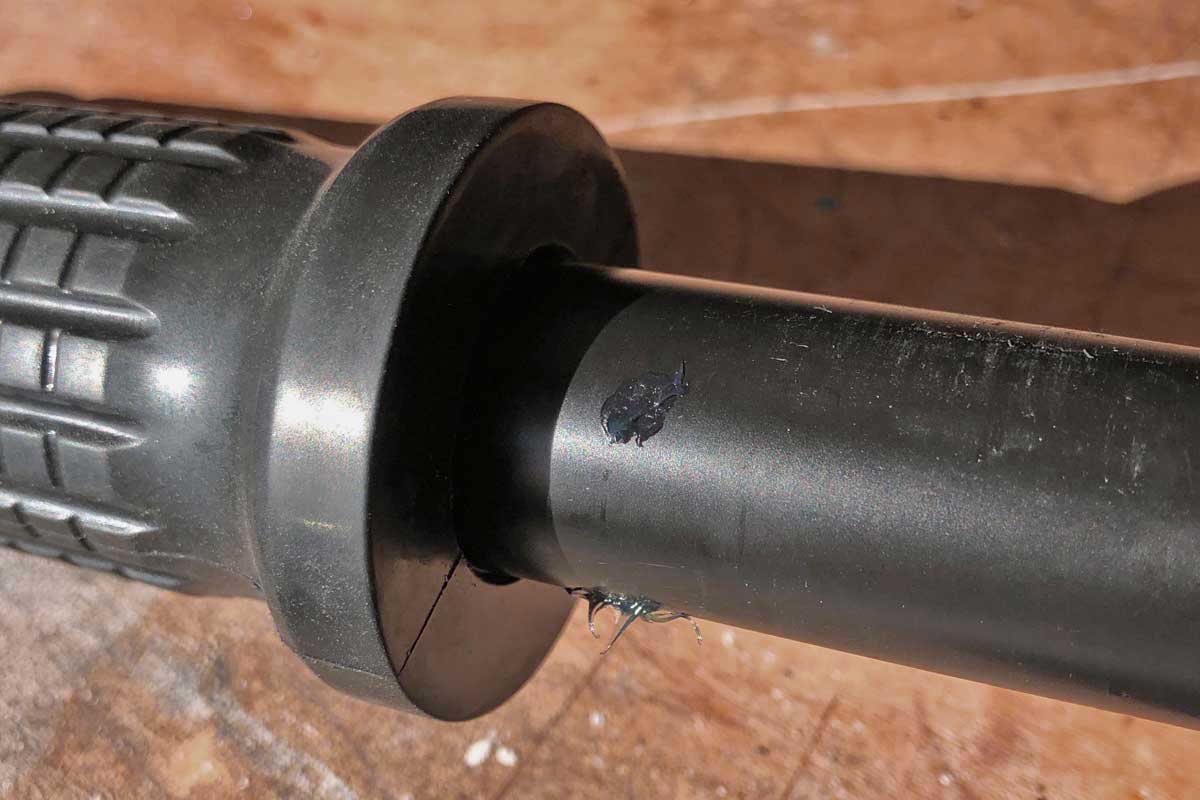
Plan A involved marking the bar with a centre punch using the button-less switch housing as a guide, but awkward angles in close proximity to expensive components necessitated plan B. Instead, I dipped the centre punch in grease and gently dabbed it on the bar through the switch housings. After removing the housings, the grease remained, making it easy to accurately punch the bar without risking damage to new parts.
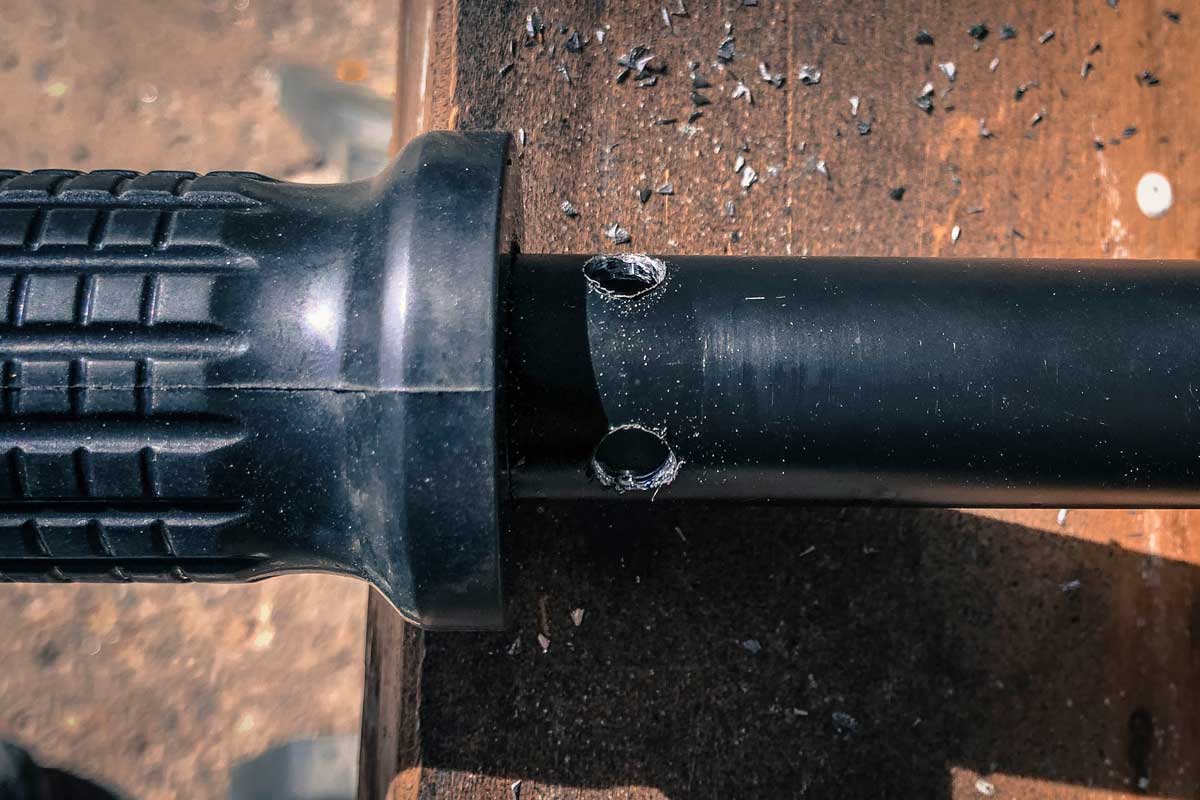
Some retailers would have you believe it’s impossible to drill into a cylindrical object without a fancy jig or 20-dollar miracle tool. But the truth is you only need a sharp bit and a steady workpiece for great results. I supported the bar in a microfiber-lined vice, drilled 1/8” pilot holes, and followed up with a ¼” bit for full effect. Flipping the bar upside-down, I drilled two ¼” holes side by side and filed them into a single oval cutout for wires to exit the bar. See? Not so hard. But resist the urge to pat yourself on the back just yet—lest you find yourself stranded on the roadside hunting short circuits with a shorter temper.
The delicate wires that will run through these holes can easily become frayed by the rough edges left after drilling. To combat this, I chamfered the edges with a ½” bit at low torque, deburred the inner lip with a round needle file, and sanded the surface with 400 grit sandpaper. Rubber grommets would also be kosher, but I chose to fortify the wires with electrical tape instead.
I would normally wire up the switches and turn signals here, but my main loom isn’t ready so I’m holding off for now. Nonetheless, the process is straightforward: I would solder 15-gauge wires to each terminal, apply heat shrink to the leads, route them through the bar tube with a piece of a coat hanger, and connect them to my hypothetical main harness as directed by my wiring diagram.
Replacing Handlebars – The Final assembly
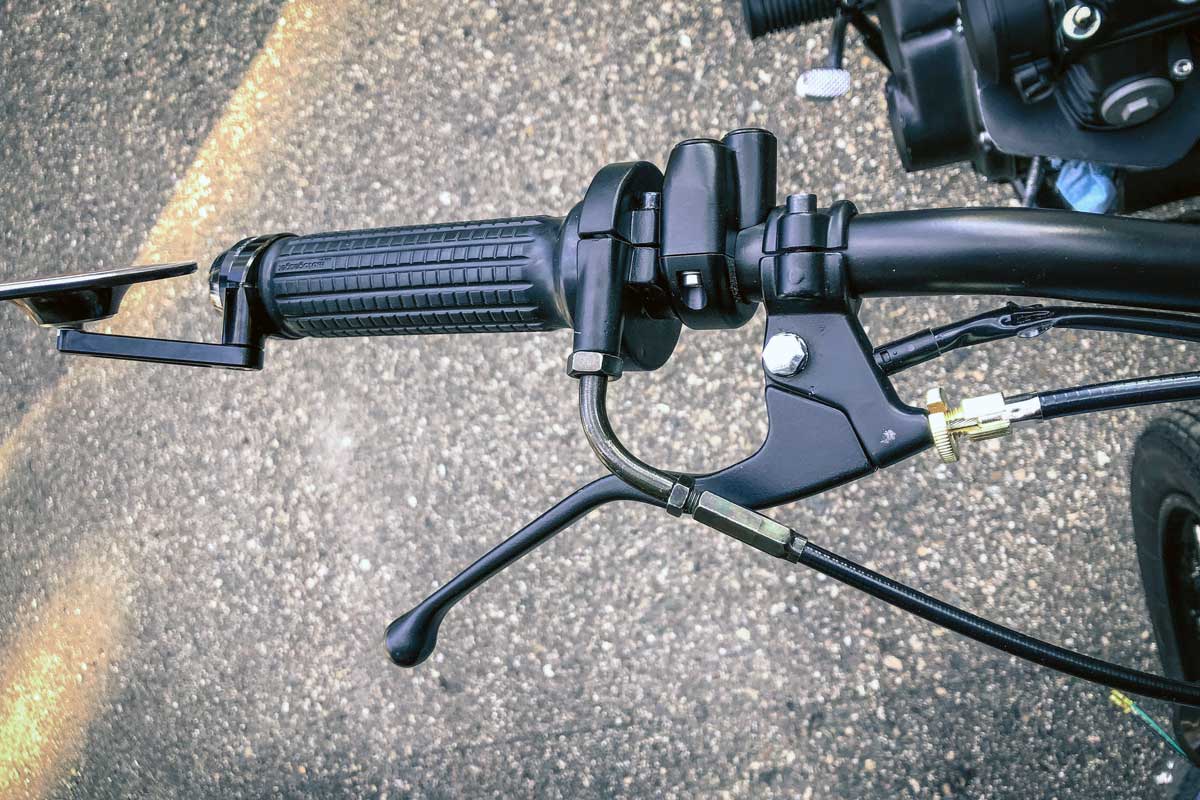
With the bench work complete, I installed everything on the bike one last time. After recreating my desired riding position and ensuring alignment of all components, I torqued everything down to spec. Then to complete the project, I connected the brake, clutch, and throttle cables to their respective components.
As mentioned above, modifying the height or width of the handlebar can have adverse effects on the clutch and brake cables. But it’s important to have the correct cable length rather than force the wrong cable to “fit.” When proper routing is followed, each cable should move freely without excessive bowing or any binding at any point in the steering range. Test the free play of all cables at multiple positions from lock to lock to be sure of it.
In the little Honda’s case, the throttle cable goes to the left of the head tube and above the left fuel tank mount. The clutch cable goes to the right of the head tube and continues under the spine of the frame behind the top motor mount and above the left carb boot. Following this procedure, I found that my clutch cable was six inches too short. Not wanting to burn up my clutch or worse, I put this last bit of the project on hold and ordered the right cable online.
If you’re still reading, I’d bet my bike you’re planning on replacing the handlebar on your motorcycle project. Luckily, there’s still time before the snow melts to give your motorcycle – and your riding experience – a much-deserved facelift.
Story by Michael A. Miller // Instagram
With a Panigale and a CL350 project bike in the stable, Mike loves anything with two wheels. Drop him a line with an interesting story idea or just to commiserate about having to winterize your bikes.