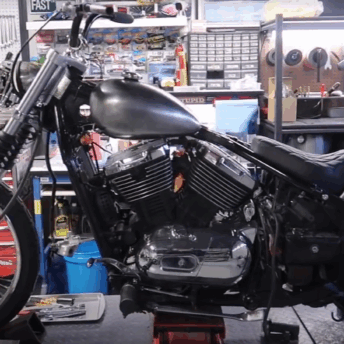
One of the jobs I didn’t forsee when I was fitting the clip on bars to the w650 was adjusting the length of all the cabling attached to or associated with the handlebars. New clutch and accelerator cables were the first step in setting things right and thankfully are pretty easy to replace.
By first loosening the nuts where each of the cables attach to the controls you can easily get the top end of the cables out. With the accelerator you will need to pull apart the accelerator control housing and unhook the head of each cable. The rear (engine) end of each accelerator cable can be wiggled out of it position once you have slack. The clutch cable can be easily removed by taking off the housing that covers the clutch cable (see below). Putting the accelerator cables back in place is done in reverse order and can be quite fiddly. Good light and patience is a must.
Deciding on where the control cables will run comes down to a couple of factors. I have removed and repositioned mine about 6 times to get them just right. The main things to remember are to check that your accelerator turns and returns as it should. The last thing you want is for your accelerator to get stuck on. In order for your accelerator to perform correctly it needs give….but not too much. Test the accelerator when you have the handlebars at full lock and adjust the nut on the cables to give more or less give. Other factors like the size of your headlight will determine where the cable will run. Mine accelerator cables now loop high over my headlight and between the forks and have plenty of give so as to not obstruct my steering.
 |
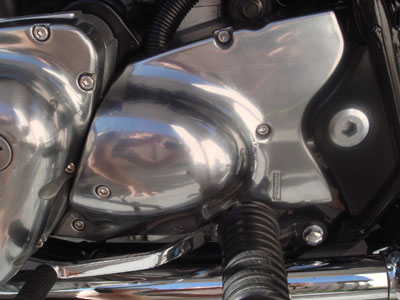
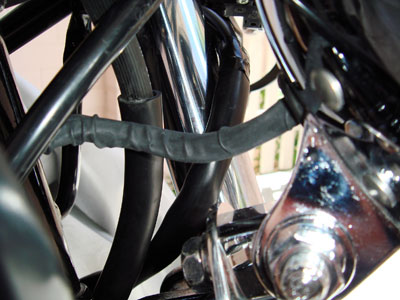
| clutch cable mount |
The front brake cable on the W650 is long. As you fit your new bars you will find that you now have a large loop of brake cable to deal with. Mine is now cable tied to the frame beneath the tank so it clears my front fender and doesn’t flap all over the place.
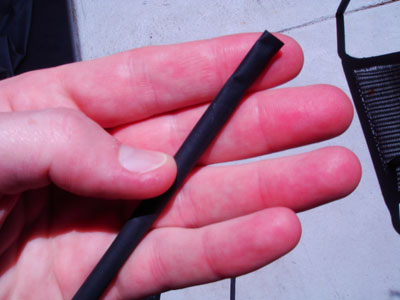
The electrical wiring will now also needs adjusting. I had to cut about 10cm of excess wire from the existing wiring as to avoid tucking large amounts of cable under the tank to conceal it all. I then used heat shrink tubing to keep things looking neat and tidy (cut the wires, slide a length of heat shrink tube over the wires and push it down out of the way. Solder the wires then pull the heat shrink up over the connection. Use a hairdryer or heat gun to shrink the tubing).
1. Don’t cut all your wires at once. It will be very hard to remember what goes where. Cut and re-attach one group at a time (ie. left indicator, right indicator, headlight, etc)
2. Make sure you leave room to move. Your cables move back and forth when you steer so ensure that there is enough give to move full lock in either direction.
3. Keep your joins well covered and dry.
4. Test everything as you go. You don’t want to have finished only to discover your indicators are back to front.
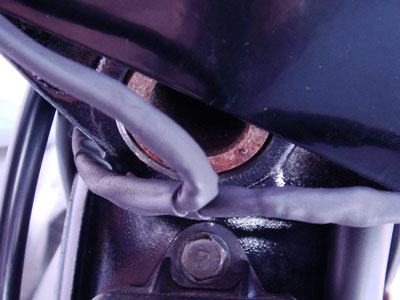
I’m particularly proud of how this part of the project has turned out. Not only does it (finally) mark the end of the handle bar swap…who’d have ever guessed it would be so hard…but it’s also turned out great. Just look at the image above, that’s the wiring from my front indicators. Slick.